Draw and move
Here your program uses the display: it opens a window (or the board's display), draws, animates a ball and moves a square with the keys or the buttons. It is the loop of any game, written by hand, and the step before Your first game with rooms, where the scene editor writes it for you.
As on the previous pages, each program goes in the main file of your project, in place of what it has.
A bouncing ball
use Display

Display.open(320, 240)
Display.fps = 30                     // 30 frames per second

var draw = Display.draw
draw.colorBG = 0x102040              // the color update() clears the display with

var x = 160.0
var y = 120.0
var vx = 90.0                        // pixels per second
var vy = 60.0
while (true)
    draw.color = 0xFFCC00
    draw.circle(x, y, 10, true)
    draw.text(8, 8, "Hello, JARU", 0xFFFFFF)
    Display.update()                 // shows the frame and waits for the next one

    x = x + vx * Display.dt
    y = y + vy * Display.dt
    if (x < 10 or x > Display.viewWidth - 10) then
        vx = -vx
    end
    if (y < 10 or y > Display.viewHeight - 10) then
        vy = -vy
    end
end
Click Run: a 320 × 240 window opens with a yellow ball that bounces off the edges. To finish, click Stop.
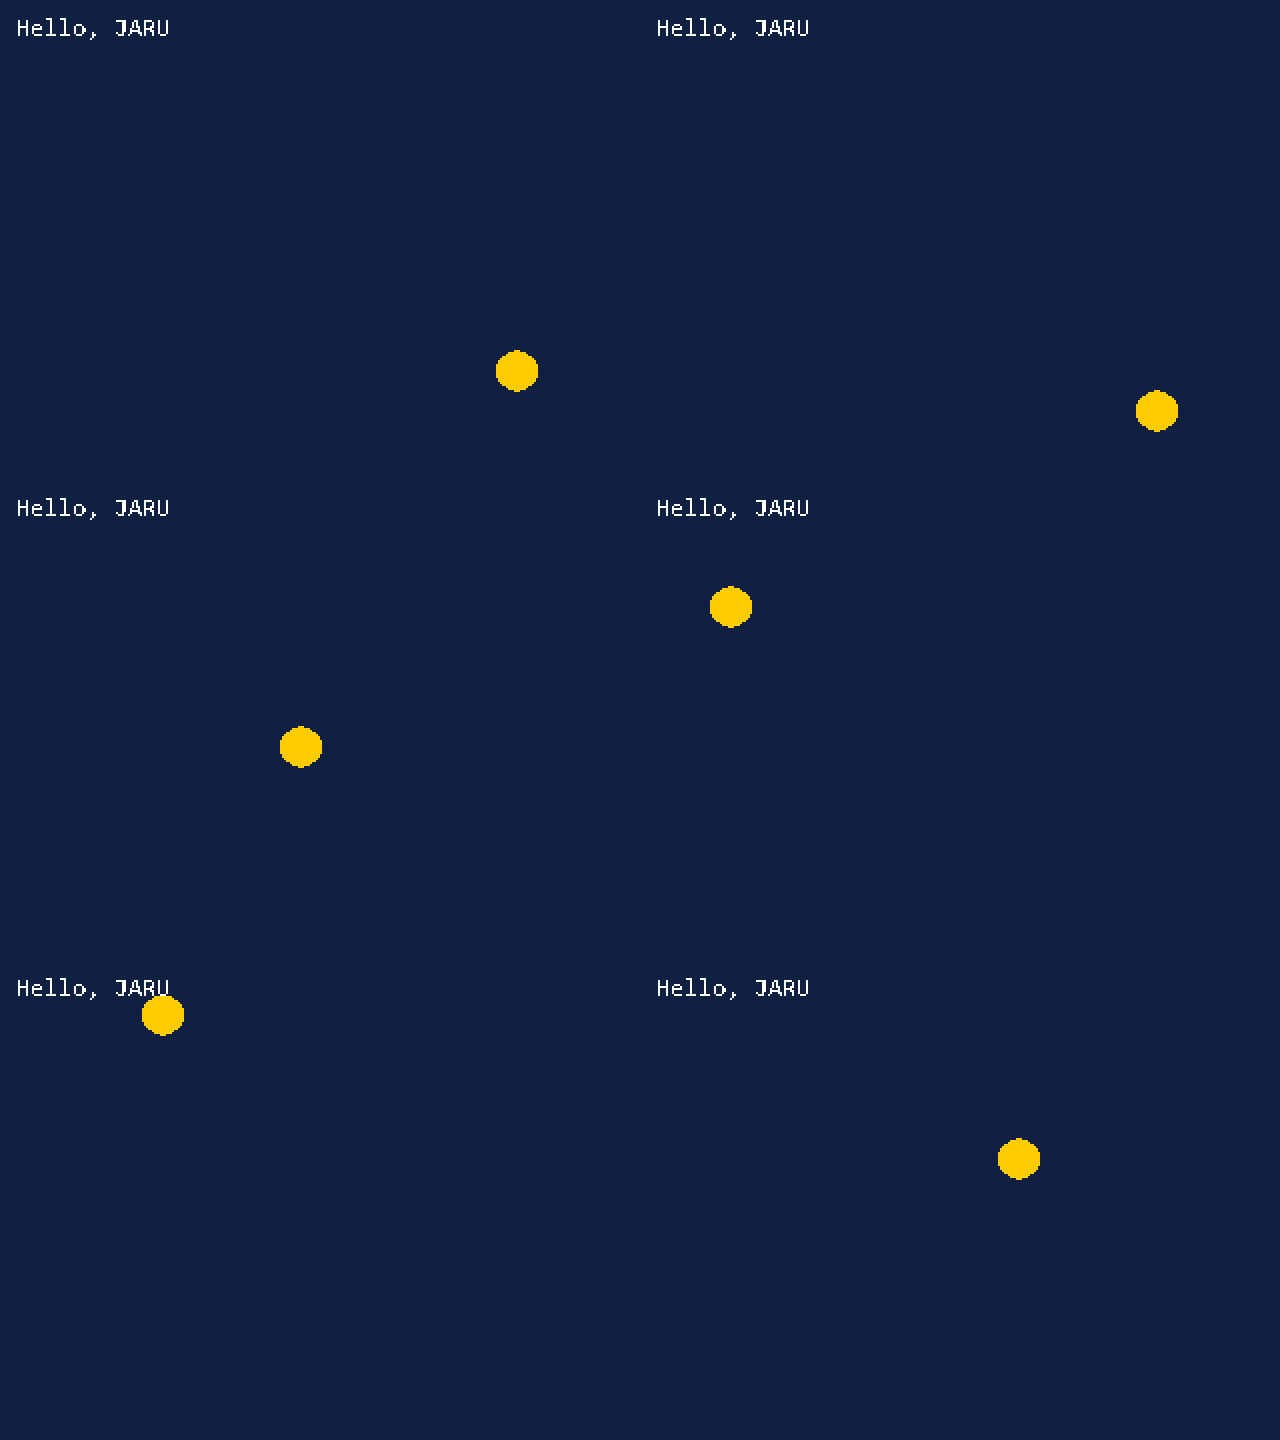
Display.open(320, 240)opens the window on Windows. On the board, the program uses its display (see Display).Display.drawis the drawing module, Draw:draw.coloris the color of what you paint, as0xRRGGBB,draw.circlepaints a circle (filled, withtrue) anddraw.textwrites a text.- Each turn of the loop is a frame: it paints, and
Display.update()shows it, clears the display withcolorBGfor the next one and waits just enough for there to be 30 per second, those ofDisplay.fps. Display.dtis the seconds the previous frame took. Multiplying the speed bydtmakes the ball travel 90 pixels per second, whether the device is fast or slow.Display.viewWidthandDisplay.viewHeightare the width and height of the drawing area: the ball bounces off them.
Move it with the keys and the buttons
Now, something you control: a square that goes left and right, and changes color.
use Display
use Input

const MOVE_LEFT = 0
const MOVE_RIGHT = 1
const CHANGE_COLOR = 2

if (platform() == HW_WIN32) then
    Input.map(MOVE_LEFT, "LEFT")
    Input.map(MOVE_RIGHT, "RIGHT")
    Input.map(CHANGE_COLOR, "SPACE")
elsif (platform() == HW_ESP32) then
    // The three buttons of the LILYGO T4; on another board, the pins of yours
    Input.map(MOVE_LEFT, 39)
    Input.map(MOVE_RIGHT, 38)
    Input.map(CHANGE_COLOR, 37)
end

Display.open(320, 240)
Display.fps = 30
var draw = Display.draw
draw.colorBG = 0x102040

var colors = [0xFFCC00, 0x40E0D0, 0xFF6080]
var c = 0
var x = 150.0
var speed = 120.0                    // pixels per second
var colorBefore = false
while (true)
    if (Input.pressed(MOVE_LEFT) and x > 0) then
        x = x - speed * Display.dt
    end
    if (Input.pressed(MOVE_RIGHT) and x < Display.viewWidth - 20) then
        x = x + speed * Display.dt
    end
    var colorNow = Input.pressed(CHANGE_COLOR)
    if (colorNow and not(colorBefore)) then    // just pressed
        c = (c + 1) % 3
    end
    colorBefore = colorNow
    draw.color = colors[c]
    draw.rect(x, Display.viewHeight - 40, 20, 20, true)
    Display.update()
end
Click Run and, with the program's window in front, use the arrows: the square moves while you hold one down. Each press of the space bar changes its color.

- Input splits the input into actions, numbers from 0 to 15.
Input.mapties each action to a key on Windows or to a button's pin on the board, and the rest of the program only asks about the actions: it is the same on both. platform()says where the program runs:HW_WIN32on Windows andHW_ESP32on a board with an ESP32. Each board has its own pins, so each one gets its own mapping.Input.pressedsays whether the action is held down in this frame. For the color, the program compares with the previous frame, as with the button in An LED and a button: so it changes once per press, even if you hold it down.colorsis a list, andcolors[c]its elementc, counting from 0.%is the remainder of the division:cgoes from 0 to 2 and back to 0.
This is what every game does: read the input, move things and paint them, frame by frame.
justPressed in 0.9.7Input has justPressed(), which says whether an action has just been pressed, but in 0.9.7 it can miss presses if you check several actions in the same frame, as here. That is why the program compares by hand. See justPressed.
On the board
- The buttons. If your board is the LILYGO T4, its three buttons are already there. If it is another one, add a branch to the
iffor its chip, such aselsif (platform() == HW_ESP32S3) then, with the pins of its buttons, wired between the pin and GND. Which pins work, and the constants of each chip, in Buttons, pins and gamepad. - With your board in Target, click Run, as in Your program on a board.
The ball and the square show up on the board's display. Its size is set by the board, not by the numbers in Display.open:
| Windows | ESP32 / ESP32-S3 | ESP32-P4 | ESP32-S31 | |
|---|---|---|---|---|
What Display.open(320, 240) opens | A 320 × 240 window | The whole display of the board: the numbers are not used | A 320 × 240 area in the center of the display | Same as the ESP32-P4 |
Since both programs use Display.viewWidth and Display.viewHeight, the ball bounces off the edges and the square does not go out, on any display.
On the ESP32-S3, pins 33 to 37 belong to its PSRAM memory: with Input.map on 37, the board hangs and restarts over and over. That is why the LILYGO T4 mapping is only for the ESP32 (HW_ESP32). See Pins you cannot use for a button.
Next steps
- Your first game with rooms: a game with several screens made with the scene editor, which writes the loop, the rooms and the controls for you.
- Display module and Draw module: the display, the view, images and everything you can paint.
- Input module: actions, keys and the buttons of each board.